how to fix half moon wall light
Whether you are a budding content creator, a professional makeup artist, or someone who wants to look better on Zoom calls, ring lights are the ultimate game-changer. They provide even, shadow-less lighting that enhances skin tones and makes eyes sparkle.
However, when your new lighting kit arrives, the box full of stands, clips, and cables can look intimidating. In this guide, we will show you how to assemble a ring light quickly and safely so you can get back to creating content.
What’s Inside the Box?
Before we dive into the assembly, let's identify the common components included with most ring lights:
- The LED Ring Light Head: The circular light source.
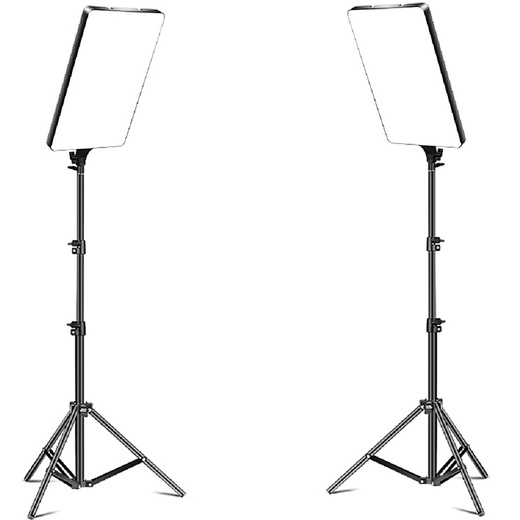
- Tripod Stand: The extendable base.
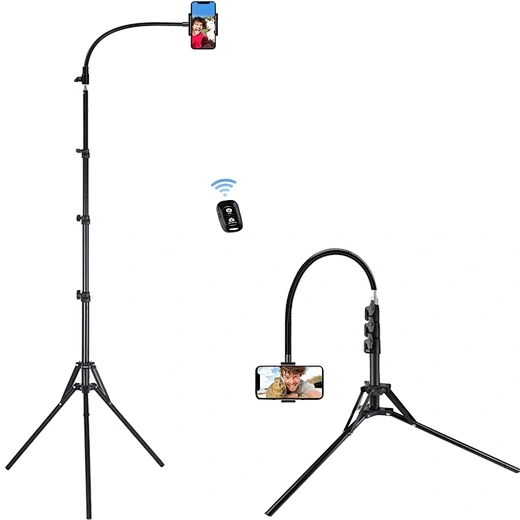
- Smartphone Holder: A flexible arm or clip.
- Ball Head Adapter: Allows the light to tilt and rotate.
- Power Cable/Adapter: USB or wall plug.
- Remote Shutter (Optional): For taking photos from a distance.
Step-by-Step Guide: How to Assemble Ring Light
Step 1: Set Up the Tripod Stand
The foundation of any stable ring light setup is the tripod.
- Loosen the screw at the base of the tripod.
- Pull the legs outward until they are wide enough to provide a stable base.
- Tighten the screw to lock the legs in place.
- Unlock the clips on the neck of the tripod to extend it to your desired height, then lock them back.
Step 2: Attach the Ball Head (If Applicable)
Most professional ring lights come with a small metal ball head.
- Screw the ball head onto the top of the tripod bolt.
- This piece allows you to tilt your ring light 360 degrees, which is crucial for flat-lay photography or overhead shots.
Step 3: Mount the Ring Light Head
Now it’s time to attach the main event.
- Place the bottom of the ring light onto the ball head or directly onto the tripod bolt.
- Rotate the light clockwise until it is snugly attached.
- Pro Tip: Don't over-tighten, as you may want to adjust the orientation later.
Step 4: Install the Smartphone Holder
To use your phone for filming, you need to install the bracket.
- Most ring lights have a cold-shoe mount or a screw hole in the center of the ring.
- Screw the flexible "gooseneck" arm into the hole.
- Attach the phone clip to the end of the arm.
Step 5: Connect to Power
- Plug the USB cable into a power bank, laptop, or wall adapter.
- If your light uses an AC adapter, ensure the connection to the light head is secure before plugging it into the wall.
- Press the power button and use the controller to adjust the brightness and color temperature (Warm, Natural, or Cool).

Common Mistakes to Avoid
When learning how to assemble ring light kits, many beginners make these mistakes:
- Narrow Base: Not spreading the tripod legs wide enough, causing the light to tip over.
- Forcing the Screws: If a screw feels stuck, don't force it. It might be cross-threaded.
- Ignoring Weight Limits: Ensure your phone or camera isn't too heavy for the flexible arm.
Frequently Asked Questions (FAQs)
Why is my ring light flickering?
Flickering is usually caused by an unstable power source. If you are using a USB ring light, try plugging it into a wall outlet instead of a computer port.
Can I mount a DSLR camera on a ring light?
Many larger 18-inch ring lights support DSLR cameras. However, check the weight capacity of your tripod stand first to prevent damage to your gear.
How do I get the "circle" reflection in my eyes?
To get that iconic "halo" look in your pupils, ensure the ring light is positioned directly in front of your face at eye level.
Conclusion
Now that you know how to assemble a ring light, you are ready to elevate your video and photo quality. Proper assembly not only ensures the longevity of your equipment but also provides a safer environment for your expensive smartphones and cameras.
Are you looking for more tips on how to use ring lights for TikTok or YouTube? Check out our other guides!
how to make a tripod stand