How to Record VHS to DVD
Converting VHS to DVD is a fantastic way to preserve your precious content, make it easier to play on modern devices, and even share with loved ones. The good news is, with a few key tools—most importantly a DVD recorder—you can tackle this project at home without professional help. Below is a detailed guide on how to record VHS to DVD smoothly.
Before you start, gather these essential tools to ensure a seamless conversion process:
Before you start, gather these essential tools to ensure a seamless conversion process:
- VHS Player/Recorder: You’ll need a working VHS deck to play your tapes. If your old VCR still works, that’s perfect—just make sure it has audio/video (A/V) output ports (RCA, S-Video, or HDMI).
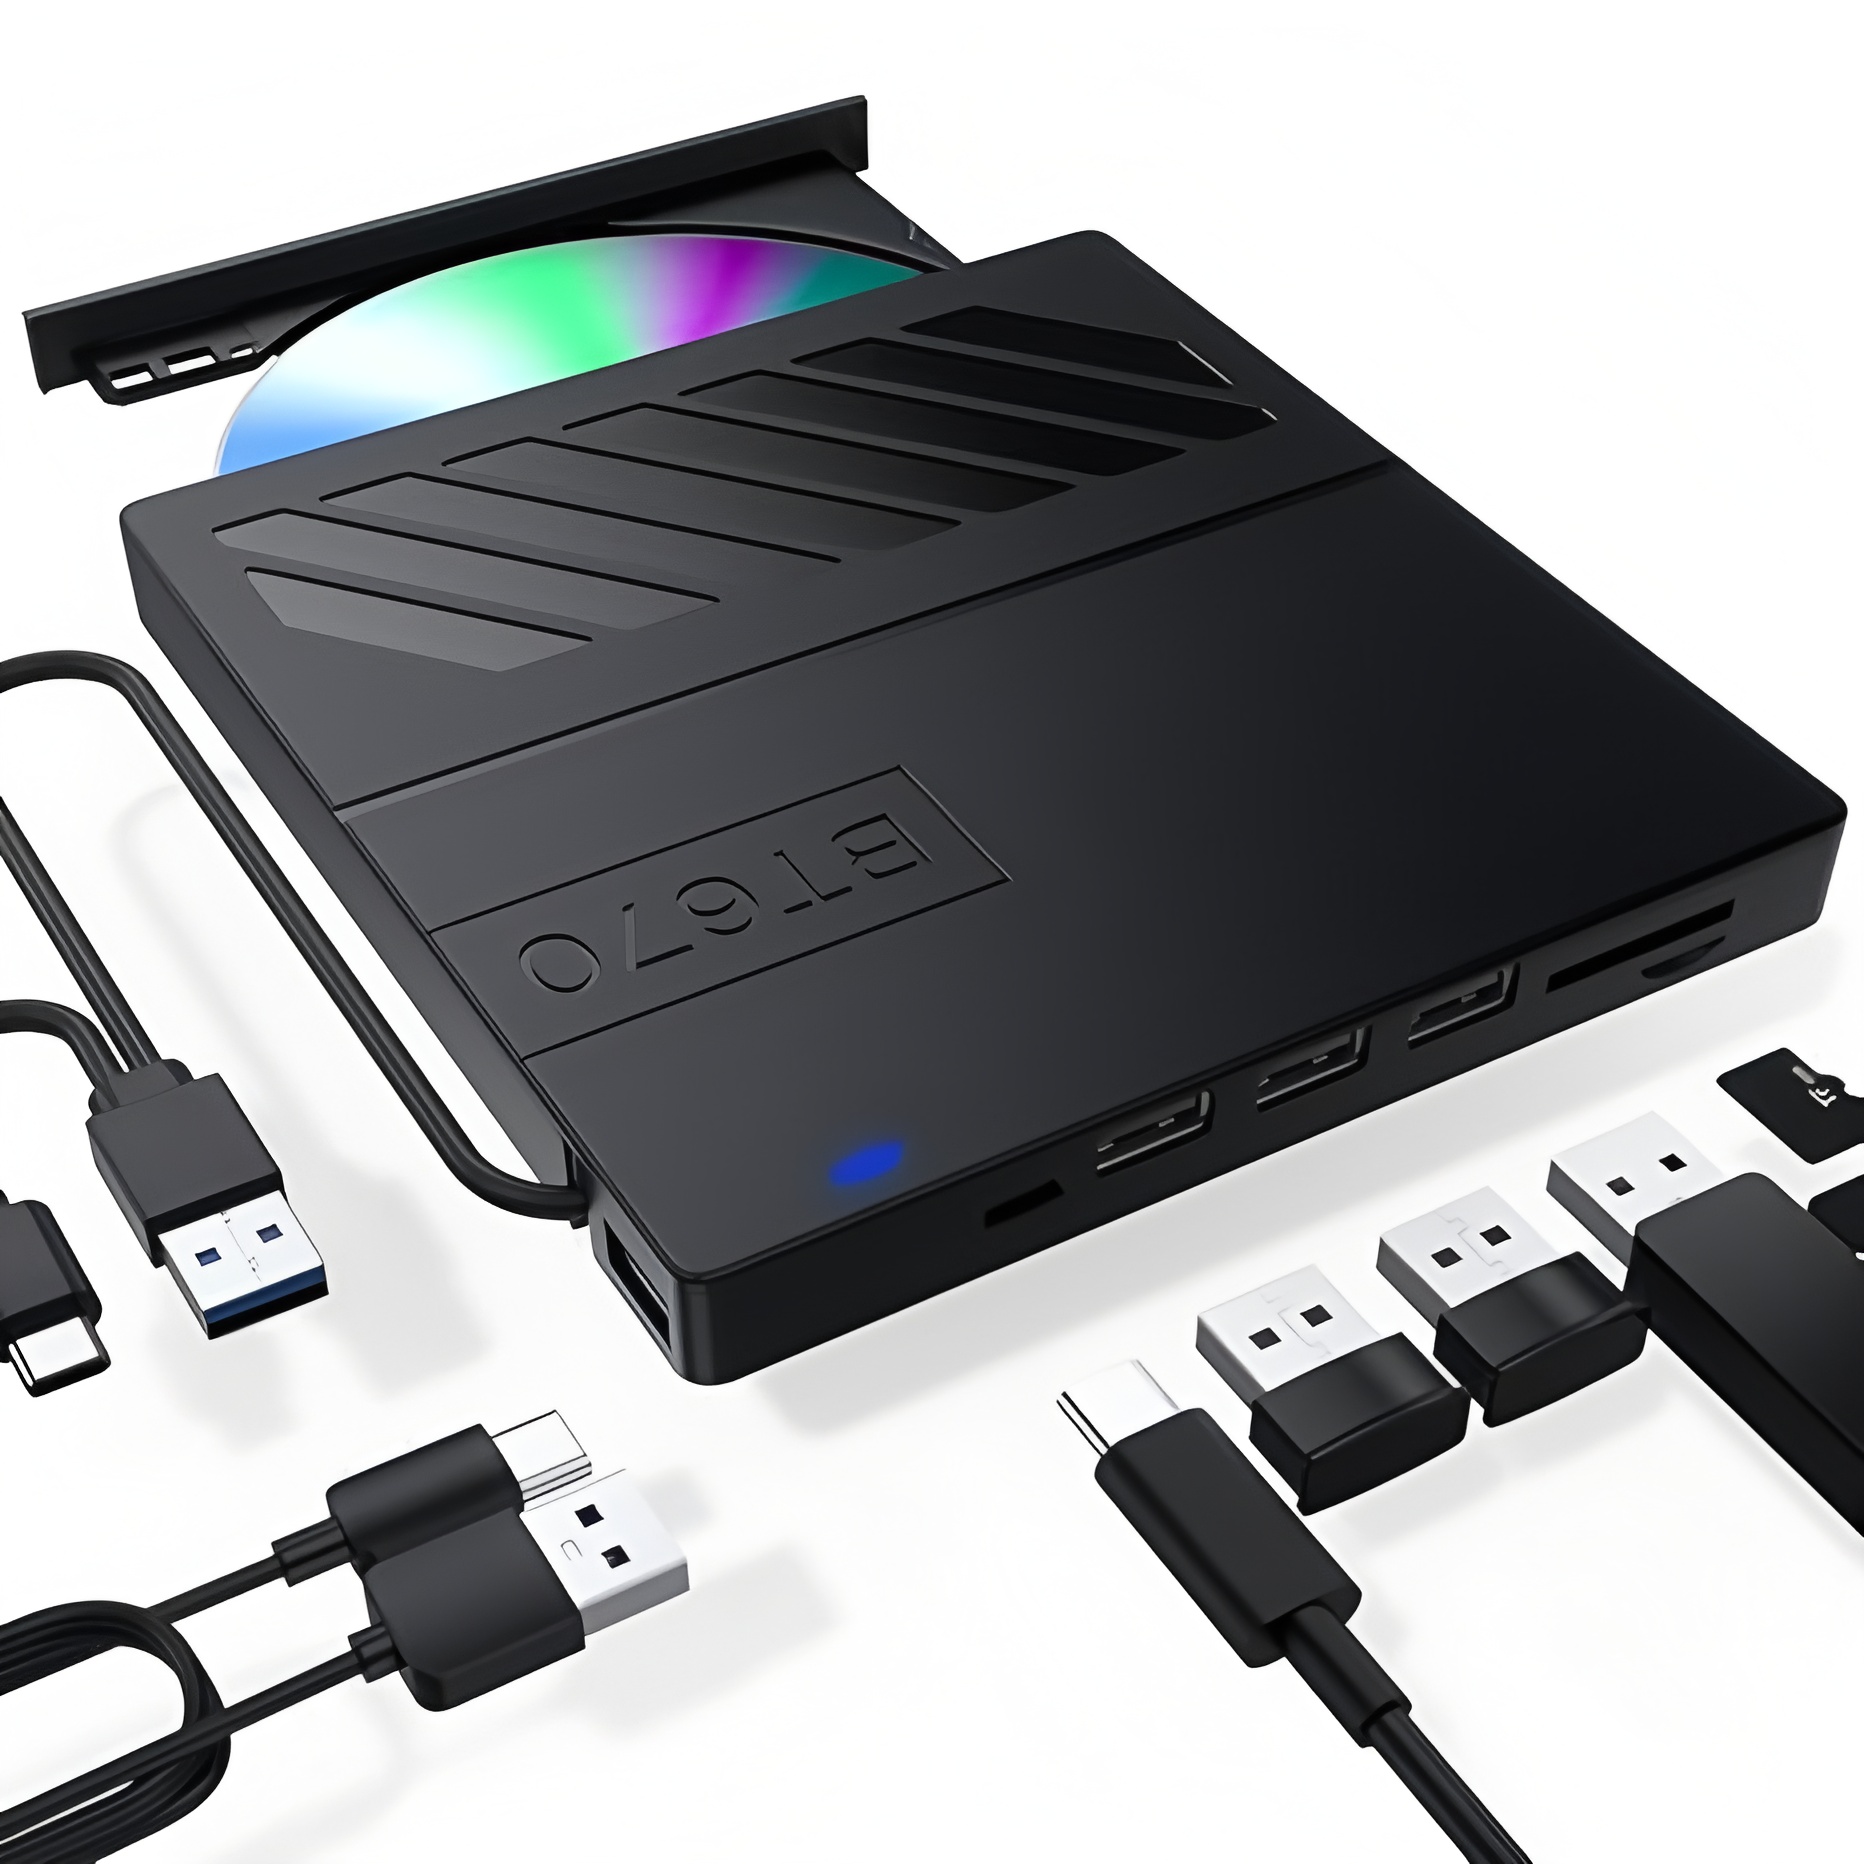
- DVD Recorder: This is the star of the process. A standalone DVD recorder (not just a DVD player) lets you record directly from external sources like a VCR. Look for one with A/V input ports to connect to your VHS player. Some modern DVD recorders also have HDMI for better quality, but RCA works for most cases.
- Connection Cables: Use RCA cables (red, white for audio; yellow for video) or S-Video cables (for slightly better video quality) to link the VHS player to the DVD recorder. If both devices have HDMI, that’s an option too, but RCA is the most common for older equipment.
- Blank DVDs: Choose high-quality blank DVDs (DVD-R or DVD+R) — these are compatible with most DVD players. Avoid rewritable DVDs (DVD-RW/DVD+RW) if you want a permanent copy, as they’re less reliable for long-term storage.
- Optional Extras: A TV (to monitor the process), a cleaning kit for VHS tapes/VCR heads (to fix fuzzy audio/video), and a surge protector (to protect your equipment) are helpful additions.
Step-by-Step: Record VHS to DVD
1. Set Up the Equipment
First, connect your VHS player to the DVD recorder. Follow these steps for a standard RCA connection:
1. Turn off both the VHS player and DVD recorder to avoid electrical interference.
2. Plug one end of the RCA cables into the output ports of the VHS player (red = right audio, white = left audio, yellow = video).
3. Plug the other end of the cables into the input ports of the DVD recorder. Make sure to match the colors—this ensures audio and video sync correctly.
4. Connect the DVD recorder to your TV (using RCA or HDMI) so you can see and hear the footage as you record. This helps you confirm the connection is working and monitor for issues.
2. Prepare the VHS Tape and Blank DVD
Insert the VHS tape you want to convert into the VCR. Fast-forward or rewind to the start of the footage you want to record—skip any commercials or blank segments to save space on the DVD. Next, insert a blank DVD into the DVD recorder. The recorder will usually format the DVD automatically (follow on-screen prompts if needed); if not, use the “Format” function in the recorder’s menu to prepare the disc for recording.
3. Test the Connection
Turn on the VHS player, DVD recorder, and TV. Switch the TV to the correct input (e.g., “HDMI 1” or “AV”) to view the DVD recorder’s output. Press “Play” on the VHS player—you should see and hear the tape’s content on the TV. If there’s no signal, double-check the cable connections (ensure they’re plugged into “output” on the VCR and “input” on the DVD recorder) and try a different set of cables if necessary.
4. Start Recording
Once everything is working, it’s time to record. Press “Record” on the DVD recorder first—this ensures you don’t miss the start of the footage. Then immediately press “Play” on the VHS player. Let both devices run until the end of the segment you want to record. If you need to pause (e.g., to skip a part), pause the VHS player first, then pause the DVD recorder to avoid recording blank space.
5. Finalize the DVD
After the recording is complete, stop both devices. Most DVD recorders require you to “finalize” the DVD before it can be played on other DVD players. Finalization encodes the disc so it’s compatible with standard players—this process takes a few minutes, and you shouldn’t eject the disc until it’s done. Look for the “Finalize” option in the DVD recorder’s menu (it may be labeled “Disc Finalize” or “Finalize Disc”).
Tips for a Successful Conversion
First, connect your VHS player to the DVD recorder. Follow these steps for a standard RCA connection:
1. Turn off both the VHS player and DVD recorder to avoid electrical interference.
2. Plug one end of the RCA cables into the output ports of the VHS player (red = right audio, white = left audio, yellow = video).
3. Plug the other end of the cables into the input ports of the DVD recorder. Make sure to match the colors—this ensures audio and video sync correctly.
4. Connect the DVD recorder to your TV (using RCA or HDMI) so you can see and hear the footage as you record. This helps you confirm the connection is working and monitor for issues.
2. Prepare the VHS Tape and Blank DVD
Insert the VHS tape you want to convert into the VCR. Fast-forward or rewind to the start of the footage you want to record—skip any commercials or blank segments to save space on the DVD. Next, insert a blank DVD into the DVD recorder. The recorder will usually format the DVD automatically (follow on-screen prompts if needed); if not, use the “Format” function in the recorder’s menu to prepare the disc for recording.
3. Test the Connection
Turn on the VHS player, DVD recorder, and TV. Switch the TV to the correct input (e.g., “HDMI 1” or “AV”) to view the DVD recorder’s output. Press “Play” on the VHS player—you should see and hear the tape’s content on the TV. If there’s no signal, double-check the cable connections (ensure they’re plugged into “output” on the VCR and “input” on the DVD recorder) and try a different set of cables if necessary.
4. Start Recording
Once everything is working, it’s time to record. Press “Record” on the DVD recorder first—this ensures you don’t miss the start of the footage. Then immediately press “Play” on the VHS player. Let both devices run until the end of the segment you want to record. If you need to pause (e.g., to skip a part), pause the VHS player first, then pause the DVD recorder to avoid recording blank space.
5. Finalize the DVD
After the recording is complete, stop both devices. Most DVD recorders require you to “finalize” the DVD before it can be played on other DVD players. Finalization encodes the disc so it’s compatible with standard players—this process takes a few minutes, and you shouldn’t eject the disc until it’s done. Look for the “Finalize” option in the DVD recorder’s menu (it may be labeled “Disc Finalize” or “Finalize Disc”).
Tips for a Successful Conversion
- Clean Your Tapes and Equipment: Dust and debris on VHS tapes or VCR heads can cause fuzzy video or distorted audio. Use a VHS head cleaning tape to clean the VCR’s heads before recording, and wipe down VHS tape casings with a soft cloth.
- Check for Copyright: It’s illegal to convert copyrighted content (like commercial movies) for personal use or distribution. Stick to home videos, non-copyrighted footage, or content you own the rights to.
- Test the Final DVD: After finalization, play the DVD on a few different players (e.g., your TV’s DVD player, a laptop) to ensure it works properly.
- Don’t Rush: If the VHS tape is long, consider splitting it into multiple DVDs instead of cramming everything onto one disc—this maintains better video quality.
Alternative: Use a VHS-to-DVD Combo Unit
If you don’t want to deal with two separate devices, a VHS-to-DVD combo unit is a great option. These all-in-one machines have a built-in VCR and DVD recorder, so you just insert the VHS tape and blank DVD, press a few buttons, and let it do the work. They’re especially convenient for beginners and save space in your setup.
Converting VHS to DVD is a simple way to preserve your memories for years to come. With a reliable DVD recorder and a little patience, you can breathe new life into old tapes and enjoy them on modern devices. So dig out those VHS tapes, grab your equipment, and start preserving—your future self will thank you!
Release time: 2025-12-24
how do i download a dvd player for my laptop
how to burn a cd