how to burn a cd
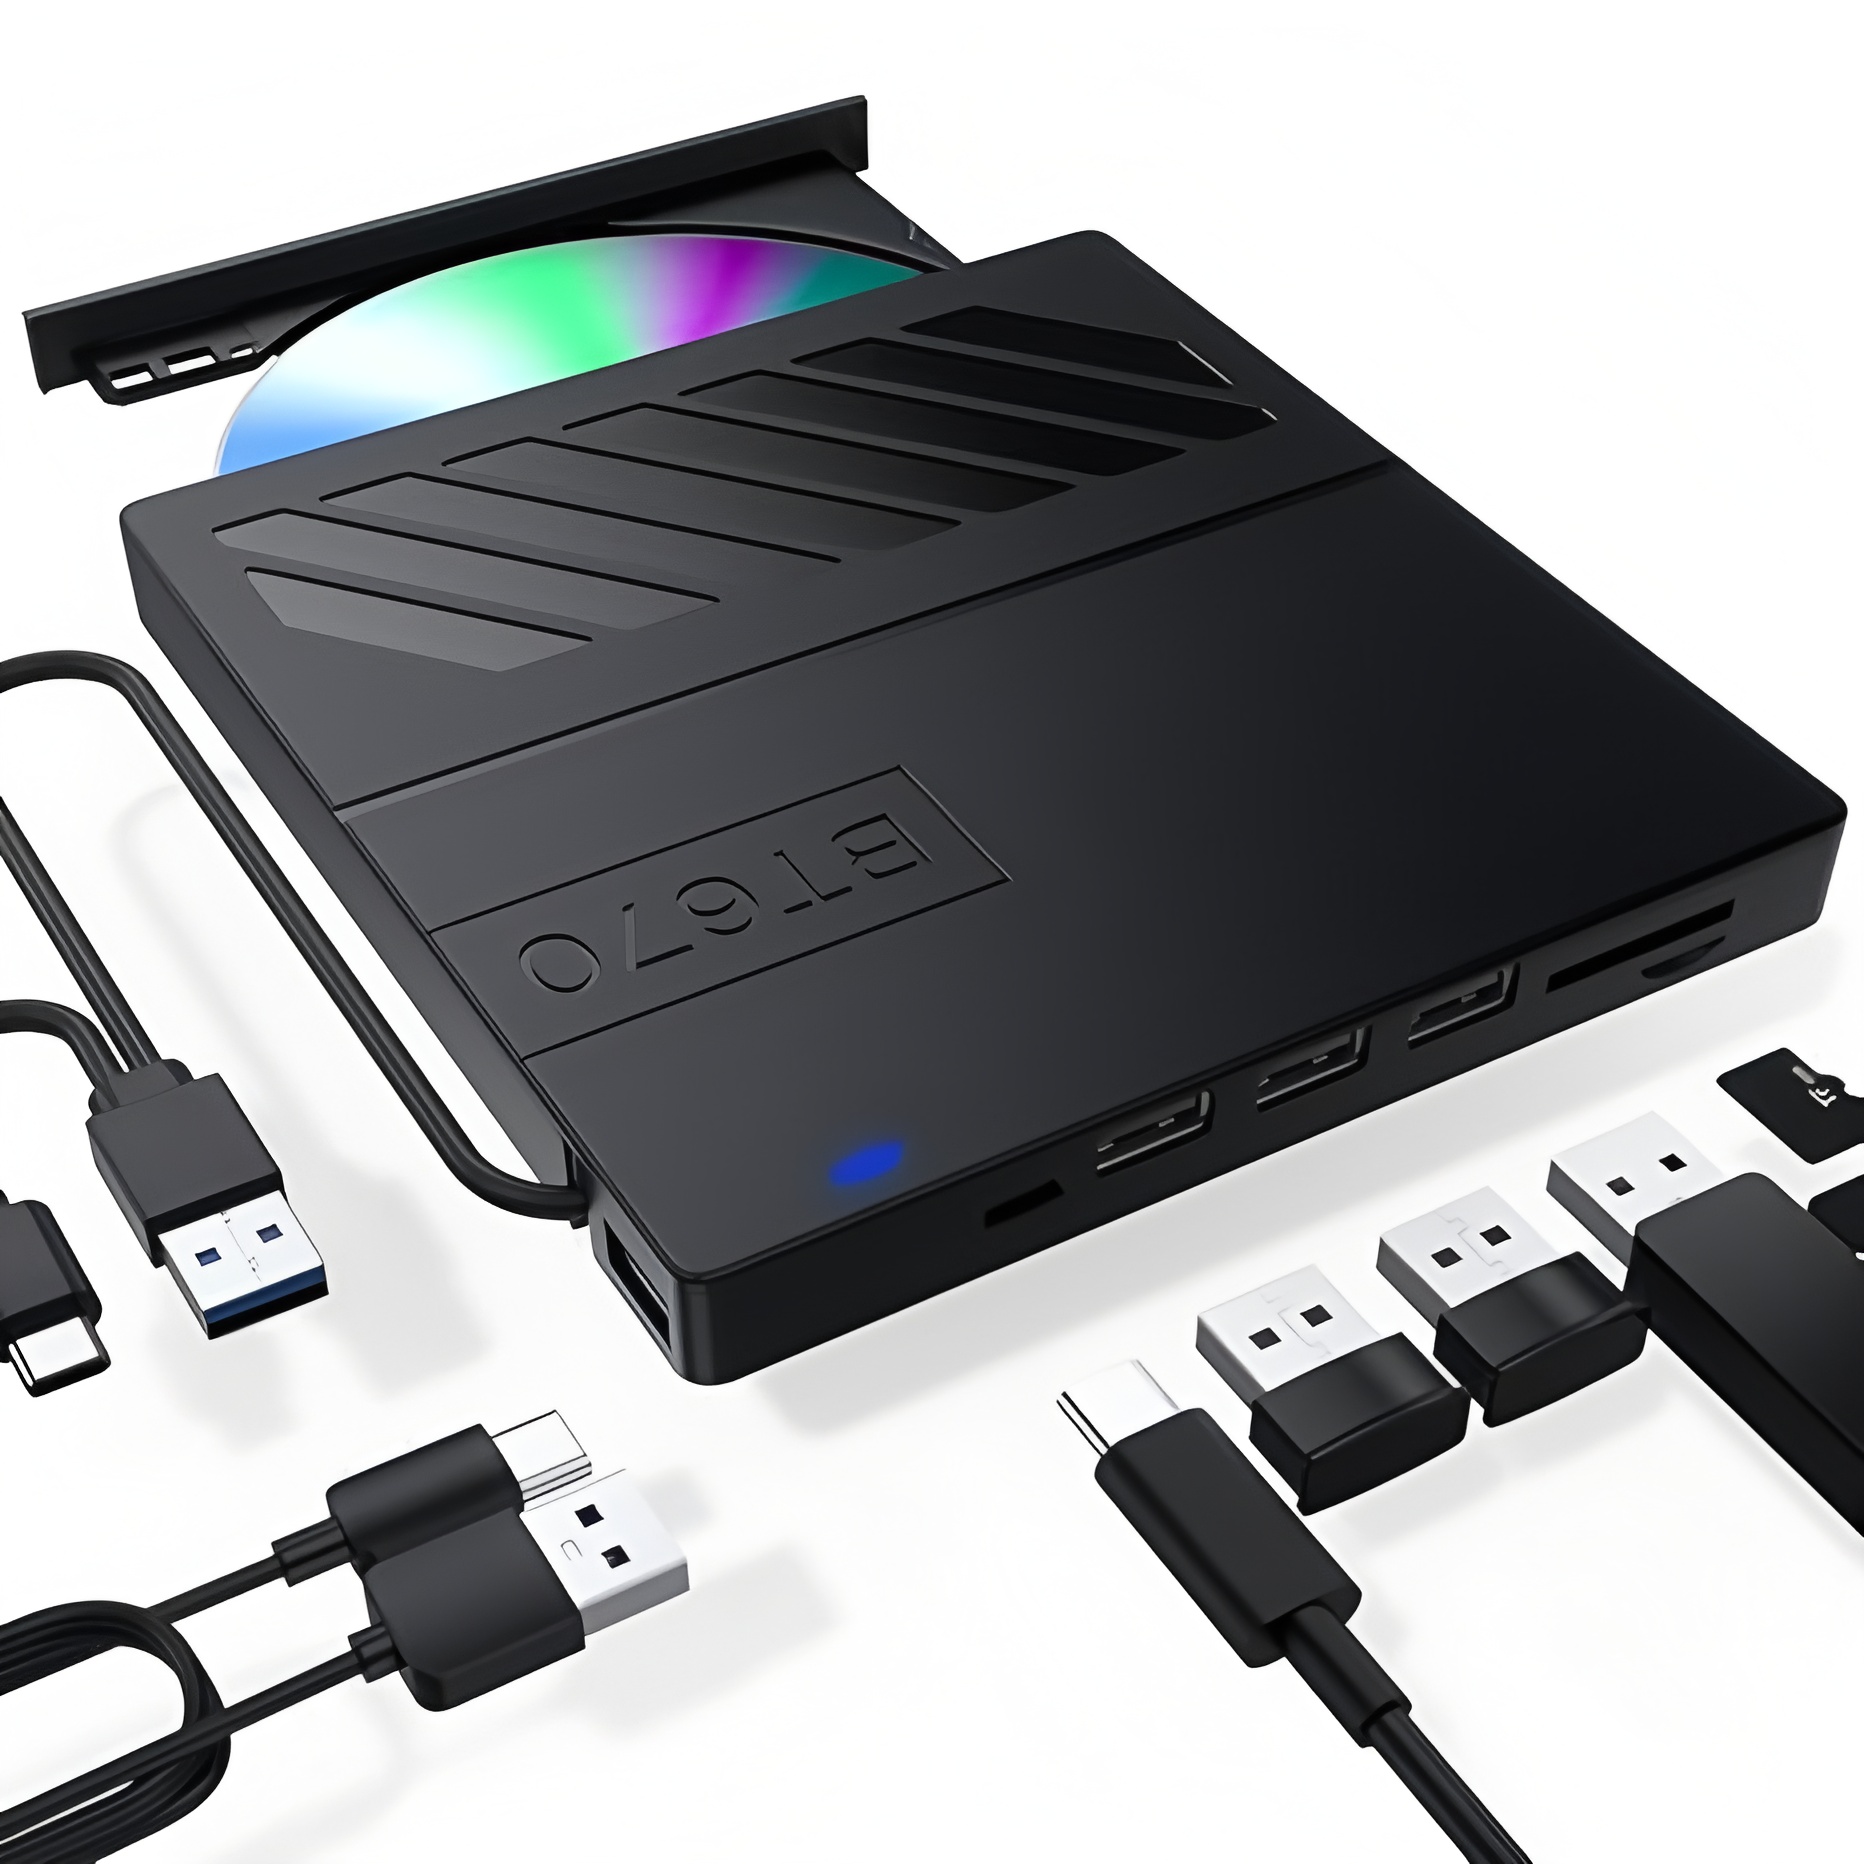
First, let’s go over the basic things you’ll need to get started. You’ll need three key items: a blank CD (either CD-R or CD-RW—we’ll explain the difference in a minute), a computer with a CD/DVD burner (most laptops and desktops have this built-in, though some newer ultra-thin models might not), and the files you want to burn (music, documents, photos, etc.). Optional but helpful: burning software—while most operating systems have built-in tools, third-party software can offer more features.
Step 1: Choose the Right Blank CD
Not all blank CDs are the same, so pick one that fits your needs. CD-R (Compact Disc Recordable) is the most common option—it lets you burn files once, and the data can’t be erased or overwritten. This is great for permanent backups or music mixes you don’t want to change. CD-RW (Compact Disc Rewritable) is reusable—you can erase old data and burn new files multiple times. Use this if you need a flexible disc for temporary storage.
Step 2: Prepare Your Files
Before burning, organize the files you want to put on the CD. Create a new folder on your desktop and move all the relevant files into it—this will make it easier to select them later. For music CDs (the kind that play in car stereos or CD players), make sure your files are in a compatible format like MP3 or WAV. If you’re burning a data CD (for storing documents, photos, or videos), most file formats (PDF, JPG, MP4, etc.) will work.
Step 1: Choose the Right Blank CD
Not all blank CDs are the same, so pick one that fits your needs. CD-R (Compact Disc Recordable) is the most common option—it lets you burn files once, and the data can’t be erased or overwritten. This is great for permanent backups or music mixes you don’t want to change. CD-RW (Compact Disc Rewritable) is reusable—you can erase old data and burn new files multiple times. Use this if you need a flexible disc for temporary storage.
Step 2: Prepare Your Files
Before burning, organize the files you want to put on the CD. Create a new folder on your desktop and move all the relevant files into it—this will make it easier to select them later. For music CDs (the kind that play in car stereos or CD players), make sure your files are in a compatible format like MP3 or WAV. If you’re burning a data CD (for storing documents, photos, or videos), most file formats (PDF, JPG, MP4, etc.) will work.

Step 3: Insert the Blank CD into Your Computer
Locate the CD/DVD drive on your computer—on laptops, it’s usually on the side, and on desktops, it’s on the front or top of the tower. Press the small button on the drive to open the tray, place the blank CD with the label side up, and push the tray back in. Your computer should recognize the blank CD automatically and pop up a window with options—if not, you can open File Explorer (Windows) or Finder (Mac) to find the drive.
Step 4: Use Built-in Software to Burn the CD
The process varies slightly between Windows and Mac, but both have user-friendly built-in tools. Here’s how to do it for each:
For Windows Users (Windows 10/11):
1.When the CD is recognized, a window will appear. Select “Burn files to disc” from the options.
2.A new window will open asking you to name the disc and choose a disc usage option. Select “Like a USB flash drive” if you want a data CD that can be updated (only works with CD-RW) or “With a CD/DVD player” if you’re making a music CD or a permanent data CD.
3.Click “Next.” If you chose “With a CD/DVD player,” Windows will prepare the disc for burning.
4.Open File Explorer, find the folder with your prepared files, and select them. Drag and drop the files into the CD drive window.
5.Once all files are added, click “Burn to disc” in the toolbar. A new window will pop up—you can leave the burning speed as default (faster speeds can sometimes cause errors) and click “Next.”
6.Wait for the burning process to finish—this can take a few minutes depending on the size of the files. When it’s done, the CD drive will open automatically. Eject the CD and label it!
For Mac Users:
1.After inserting the CD, a window will appear. Select “Open Finder” to access the disc.
2.Open a new Finder window, find your prepared files, and drag them into the CD drive icon in the sidebar.
3.Once all files are added, right-click (or control-click) on the CD drive icon and select “Burn [Disc Name].”
4.A pop-up window will ask you to name the disc and choose a burning speed. Leave the speed as default unless you have a reason to change it, then click “Burn.”
5.Wait for the process to complete—your Mac will notify you when it’s done. Eject the CD and add a label.
Step 5: Verify the Burned CD (Optional but Recommended)
To make sure your files burned correctly, reinsert the CD into your computer and open it in File Explorer or Finder. Check that all your files are present and can be opened. If you made a music CD, test it in a CD player to ensure it plays properly.
Useful Tips for Burning CDs
•Don’t burn at the maximum speed: Burning at a slower speed (like 8x or 16x) reduces the risk of errors and ensures the CD is more reliable, especially for music or important backups.
•Avoid multitasking: While burning, don’t run other heavy programs—this can cause the burn process to fail.
•Label your CDs: Use a permanent marker to write the contents and date on the label side (never write on the shiny side, as this can damage the data).
•Store CDs properly: Keep burned CDs in a case to protect them from scratches, dust, and sunlight, which can damage the disc over time.
And that’s it! Learning how to burn a CD is simpler than you might think, and it’s a useful skill for anyone who wants to create physical media or back up files. Whether you’re making a mix for a friend or saving important documents, following these steps will help you burn a CD successfully every time. Have you tried burning a CD before? Let us know in the comments!
How to Record VHS to DVD