how to make a lighting box for photography
If you’re into product photography, craft photography, or even capturing small objects for your blog or social media, a photography light box is a game-changer. It creates soft, even lighting that eliminates harsh shadows, highlights details, and makes your subjects look professional—no expensive studio equipment required! Today, I’m going to show you exactly how to make a lighting box for photography with simple, affordable materials you probably already have at home. Let’s dive in.
- What Is a Photography Light Box (and Why Do You Need One?)
First, let’s clarify: a photography light box (also called a light tent or softbox) is a enclosed box with translucent sides that diffuses light. When you place lights around it, the light bounces evenly inside the box, creating a soft, shadow-free environment for your subject. This is crucial for capturing sharp, consistent photos—whether you’re selling handmade jewelry, showcasing a new product, or taking close-up shots of small items.
While you can buy a pre-made photography light box online, making your own is cheaper, customizable, and surprisingly easy. Plus, DIY-ing it lets you adjust the size and design to fit your specific needs (think: small for jewelry, larger for books or home decor).
While you can buy a pre-made photography light box online, making your own is cheaper, customizable, and surprisingly easy. Plus, DIY-ing it lets you adjust the size and design to fit your specific needs (think: small for jewelry, larger for books or home decor).
- Materials You’ll Need to Make a Lighting Box for Photography
You don’t need fancy tools for this project—most items can be found at a dollar store, craft store, or in your garage. Here’s the full list:
· A cardboard box (medium-sized is best—think: shoe box, shipping box, or craft box; avoid boxes that are too flimsy)
· White tissue paper (4-6 sheets; this will be your diffuser for soft light)
· White poster board or thick white paper (1 sheet; this will be the background inside the box)
· Scissors or a box cutter (for cutting the box—adult supervision recommended if using a box cutter)
· Tape (packing tape or double-sided tape works best)
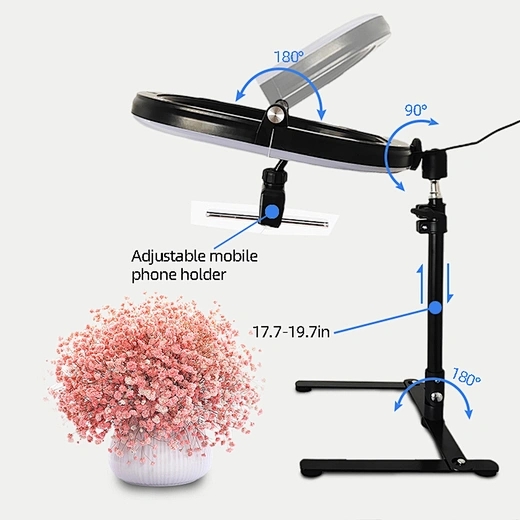
· 2-4 small lights (desk lamps, LED strip lights, or even phone flashlights—LED lights are preferred for cool, even light)
· Optional: Black poster board (for dark backgrounds), colored paper (for creative shots), or foam board (for sturdier sides)
· A cardboard box (medium-sized is best—think: shoe box, shipping box, or craft box; avoid boxes that are too flimsy)
· White tissue paper (4-6 sheets; this will be your diffuser for soft light)
· White poster board or thick white paper (1 sheet; this will be the background inside the box)
· Scissors or a box cutter (for cutting the box—adult supervision recommended if using a box cutter)
· Tape (packing tape or double-sided tape works best)
· 2-4 small lights (desk lamps, LED strip lights, or even phone flashlights—LED lights are preferred for cool, even light)
· Optional: Black poster board (for dark backgrounds), colored paper (for creative shots), or foam board (for sturdier sides)
- Step-by-Step Guide: How to Make a Lighting Box for Photography
Now that you have all your materials, let’s start building your DIY photography light box. Follow these steps, and you’ll have a functional light box in 30 minutes or less!
Step 1: Prepare the Cardboard Box
Take your cardboard box and remove any flaps or extra packaging. If the box has a lid, cut it off—we’ll use the main box as the base of our light box. Next, decide which side will be the “front” (where you’ll take photos from) and which sides will be the “top” and “sides.” The front should be open (we’ll leave it uncovered so you can aim your camera inside), and the top, left, and right sides will be cut out to add our diffusers.
Step 2: Cut Out the Sides and Top
Using scissors or a box cutter, carefully cut out the middle of the left side, right side, and top of the box. Leave a 2-3 inch border around the edges—this will keep the box sturdy and prevent it from collapsing. Make sure the cuts are smooth and even (you can trace a line with a pencil first to guide you). The holes you cut out will be covered with tissue paper to diffuse the light—this is what makes your photography light box create soft, shadow-free light.
Step 3: Add the Tissue Paper Diffusers
Lay one sheet of white tissue paper over each cut-out hole (top, left, right). Use tape to secure the tissue paper to the inside of the box—this way, the tape won’t be visible from the outside, and the tissue paper will stay taut. If the tissue paper is too thin (or if you want extra-soft light), layer 2 sheets of tissue paper over each hole. The tissue paper acts as a diffuser, breaking up harsh light from your lamps and creating an even glow inside the box.
Step 4: Create the Background
Take your white poster board and cut it to fit the inside of the box. The poster board should be long enough to cover the bottom of the box and curve up the back wall (this creates a seamless, shadow-free background for your photos). Tape the poster board to the bottom and back of the box—make sure it’s smooth and free of wrinkles (wrinkles will show up in your photos!). If you want a dark background, use black poster board instead—this works great for small, light-colored subjects like jewelry or white crafts.
Step 5: Set Up the Lights
Now it’s time to add light to your photography light box! Place 1-2 lamps on the left side of the box and 1-2 lamps on the right side (you can also add a lamp on top if you want extra light). Position the lamps so they shine directly onto the tissue paper diffusers—don’t point them directly into the box, as this will create harsh shadows. If you’re using LED strip lights, you can tape them around the inside edges of the box (top, left, right) for even more light.
Pro tip: Use cool-white LED lights (around 5000K) for accurate color representation—this ensures your photos look true to life, which is especially important for product photography.
Step 1: Prepare the Cardboard Box
Take your cardboard box and remove any flaps or extra packaging. If the box has a lid, cut it off—we’ll use the main box as the base of our light box. Next, decide which side will be the “front” (where you’ll take photos from) and which sides will be the “top” and “sides.” The front should be open (we’ll leave it uncovered so you can aim your camera inside), and the top, left, and right sides will be cut out to add our diffusers.
Step 2: Cut Out the Sides and Top
Using scissors or a box cutter, carefully cut out the middle of the left side, right side, and top of the box. Leave a 2-3 inch border around the edges—this will keep the box sturdy and prevent it from collapsing. Make sure the cuts are smooth and even (you can trace a line with a pencil first to guide you). The holes you cut out will be covered with tissue paper to diffuse the light—this is what makes your photography light box create soft, shadow-free light.
Step 3: Add the Tissue Paper Diffusers
Lay one sheet of white tissue paper over each cut-out hole (top, left, right). Use tape to secure the tissue paper to the inside of the box—this way, the tape won’t be visible from the outside, and the tissue paper will stay taut. If the tissue paper is too thin (or if you want extra-soft light), layer 2 sheets of tissue paper over each hole. The tissue paper acts as a diffuser, breaking up harsh light from your lamps and creating an even glow inside the box.
Step 4: Create the Background
Take your white poster board and cut it to fit the inside of the box. The poster board should be long enough to cover the bottom of the box and curve up the back wall (this creates a seamless, shadow-free background for your photos). Tape the poster board to the bottom and back of the box—make sure it’s smooth and free of wrinkles (wrinkles will show up in your photos!). If you want a dark background, use black poster board instead—this works great for small, light-colored subjects like jewelry or white crafts.
Step 5: Set Up the Lights
Now it’s time to add light to your photography light box! Place 1-2 lamps on the left side of the box and 1-2 lamps on the right side (you can also add a lamp on top if you want extra light). Position the lamps so they shine directly onto the tissue paper diffusers—don’t point them directly into the box, as this will create harsh shadows. If you’re using LED strip lights, you can tape them around the inside edges of the box (top, left, right) for even more light.
Pro tip: Use cool-white LED lights (around 5000K) for accurate color representation—this ensures your photos look true to life, which is especially important for product photography.
Step 6: Test Your DIY Photography Light Box
Place your subject in the center of the box, on top of the white poster board. Turn on your lights and adjust their position until the light is even and there are no harsh shadows. Take a test photo—if the light is too bright, add another layer of tissue paper; if it’s too dim, move the lamps closer to the box or add more lights. You can also adjust the angle of your camera (shooting from above or at eye level) to get the best shot.

- Tips for Using Your DIY Photography Light Box
Now that you know how to make a lighting box for photography, here are a few extra tips to help you get the best results:
· Keep the area around the light box clean—dust or clutter can show up in your photos.
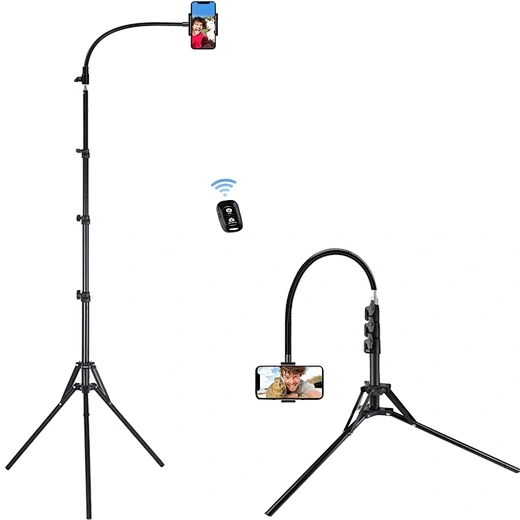
· Use a tripod for your camera—this prevents blurry shots and lets you focus on adjusting the light.
· Experiment with backgrounds: Try colored paper, fabric, or even wood grain for different looks.
· If you’re shooting reflective subjects (like glass or metal), add a piece of black paper inside the box (opposite the lights) to reduce glare.
- Final Thoughts on Making a Photography Light Box
Making your own DIY photography light box is a simple, affordable way to elevate your small-object photography. With just a cardboard box, tissue paper, and a few lights, you can create professional-looking shots that stand out on your blog, social media, or online store. The best part? You can customize your light box to fit any subject—whether you’re shooting tiny earrings or larger home decor items.
Now that you have your photography light box, grab your camera and start experimenting! Let me know in the comments what you’re planning to shoot first—happy photographing!
how to hold camera up without tripod
how to connect wireless lavalier microphone