how to use professional condenser microphone
author: LJ
2026-01-27
A Professional Condenser Microphone is the gold standard for capturing crisp, nuanced audio—whether you’re podcasting, recording vocals, streaming, or tracking instruments. But owning a top-tier mic isn’t enough; knowing how to use professional condenser microphone correctly is what turns average recordings into studio-grade sound. Unlike dynamic mics, condenser models are sensitive, require specific power, and demand careful handling to unlock their full potential. This 2025 news guide breaks down the usage process in simple, actionable steps, covers critical tips for optimal performance, solves common user headaches, and tailors advice to key use cases.
Key Pre-Usage Basics: What You Need to Know About Professional Condenser Microphone
Before diving into how to use professional condenser microphone, it’s critical to understand its core traits—this avoids mistakes and ensures you get the best sound:
Sensitivity: Professional Condenser Microphones are highly sensitive, capturing subtle sounds (e.g., breath, room echo) and background noise. This means you need a quiet recording space and careful positioning.Phantom Power Requirement: Unlike dynamic mics, condenser models need +48V phantom power (from an audio interface, mixer, or preamp) to operate. Without it, the mic won’t produce sound or will output weak, distorted audio.Polar Pattern: Most condenser mics have a cardioid polar pattern (captures sound from the front, rejects noise from the sides/back)—ideal for vocals, podcasts, and single-instrument recording. Some offer switchable patterns (omnidirectional, bidirectional) for versatile use.Fragility: Condenser mics have delicate internal diaphragms—avoid dropping, shaking, or exposing them to extreme temperatures/humidity.
Sensitivity: Professional Condenser Microphones are highly sensitive, capturing subtle sounds (e.g., breath, room echo) and background noise. This means you need a quiet recording space and careful positioning.Phantom Power Requirement: Unlike dynamic mics, condenser models need +48V phantom power (from an audio interface, mixer, or preamp) to operate. Without it, the mic won’t produce sound or will output weak, distorted audio.Polar Pattern: Most condenser mics have a cardioid polar pattern (captures sound from the front, rejects noise from the sides/back)—ideal for vocals, podcasts, and single-instrument recording. Some offer switchable patterns (omnidirectional, bidirectional) for versatile use.Fragility: Condenser mics have delicate internal diaphragms—avoid dropping, shaking, or exposing them to extreme temperatures/humidity.
What You’ll Need Before Using a Professional Condenser Microphone
To use your Professional Condenser Microphone effectively, gather these essentials—most setups include these items, but double-check to avoid delays:
A Professional Condenser Microphone (vocal, podcast, or instrument-specific—match it to your use case).Audio Interface/Mixer/Preamp (with +48V phantom power): Delivers power to the mic and connects it to your recording device.Balanced XLR Cable: Reduces interference and static (3-pin, 6–25 feet long—avoid cheap, unbalanced cables).Mic Stand & Shock Mount: A sturdy stand (desktop or floor) and shock mount (eliminates vibration noise from the stand/desk).Pop Filter: Blocks plosives (hard “p”/“b” sounds) and breath noise—non-negotiable for vocal recordings.Closed-Back Headphones: For real-time monitoring (catches issues like clipping or background noise before recording).Recording Device: Computer (Mac/Windows), smartphone (with adapter), or dedicated audio recorder.
A Professional Condenser Microphone (vocal, podcast, or instrument-specific—match it to your use case).Audio Interface/Mixer/Preamp (with +48V phantom power): Delivers power to the mic and connects it to your recording device.Balanced XLR Cable: Reduces interference and static (3-pin, 6–25 feet long—avoid cheap, unbalanced cables).Mic Stand & Shock Mount: A sturdy stand (desktop or floor) and shock mount (eliminates vibration noise from the stand/desk).Pop Filter: Blocks plosives (hard “p”/“b” sounds) and breath noise—non-negotiable for vocal recordings.Closed-Back Headphones: For real-time monitoring (catches issues like clipping or background noise before recording).Recording Device: Computer (Mac/Windows), smartphone (with adapter), or dedicated audio recorder.
Step-by-Step Guide: How to Use Professional Condenser Microphone
Follow these 6 simple steps to use your Professional Condenser Microphone like a pro—works for vocals, podcasts, streaming, and instrument recording:
1. Set Up Your Recording Space (Critical for Clean Audio)
The first step in how to use professional condenser microphone is optimizing your space—even the best mic sounds bad in a noisy, echoey room:
Choose a quiet area: Close windows, turn off fans/AC, and avoid background noise (e.g., traffic, pets, appliances).Reduce echo: Add soft materials (curtains, rugs, pillows) to absorb sound—hard surfaces (walls, desks) cause reverberation.Minimize distractions: Turn off phone notifications and ask others to avoid talking near the recording space.
Choose a quiet area: Close windows, turn off fans/AC, and avoid background noise (e.g., traffic, pets, appliances).Reduce echo: Add soft materials (curtains, rugs, pillows) to absorb sound—hard surfaces (walls, desks) cause reverberation.Minimize distractions: Turn off phone notifications and ask others to avoid talking near the recording space.
2. Assemble the Mic Setup (Mounting & Protection)
Proper assembly protects your Professional Condenser Microphone and reduces unwanted noise:
Attach the shock mount to the mic stand: Screw it into place until secure—never mount the mic directly to the stand (vibration causes noise).Insert the mic into the shock mount: Gently place the Professional Condenser Microphone into the mount and tighten the clamp (don’t over-tighten—avoid damaging the mic body).Add the pop filter: Position it 2–4 inches in front of the mic, aligned with the mic’s capsule (the front of the mic where sound enters).Adjust the stand height/angle: Position the mic at your mouth level (for vocals) or instrument level (for guitars/pianos)—tilt it slightly downward to avoid breath sounds.
Attach the shock mount to the mic stand: Screw it into place until secure—never mount the mic directly to the stand (vibration causes noise).Insert the mic into the shock mount: Gently place the Professional Condenser Microphone into the mount and tighten the clamp (don’t over-tighten—avoid damaging the mic body).Add the pop filter: Position it 2–4 inches in front of the mic, aligned with the mic’s capsule (the front of the mic where sound enters).Adjust the stand height/angle: Position the mic at your mouth level (for vocals) or instrument level (for guitars/pianos)—tilt it slightly downward to avoid breath sounds.
3. Connect the Mic & Enable Phantom Power
Correct wiring and power are essential for your Professional Condenser Microphone to work:
Connect the XLR cable: Plug one end into the XLR port on the mic (twist clockwise until it clicks for a secure connection). Plug the other end into the XLR input on your audio interface/mixer.Set the input type: Ensure the interface/mixer channel is set to “mic” (not “line” or “instrument”)—line inputs are for stronger signals and will result in weak audio.Enable phantom power: Press the “+48V” button on your interface/mixer (it will light up to confirm). Important: Always turn off phantom power before plugging/unplugging the XLR cable—this prevents damage to the mic or gear.
Connect the XLR cable: Plug one end into the XLR port on the mic (twist clockwise until it clicks for a secure connection). Plug the other end into the XLR input on your audio interface/mixer.Set the input type: Ensure the interface/mixer channel is set to “mic” (not “line” or “instrument”)—line inputs are for stronger signals and will result in weak audio.Enable phantom power: Press the “+48V” button on your interface/mixer (it will light up to confirm). Important: Always turn off phantom power before plugging/unplugging the XLR cable—this prevents damage to the mic or gear.
4. Position the Professional Condenser Microphone (Make-or-Break for Sound Quality)
Mic placement is the most important step in how to use professional condenser microphone—small adjustments make a big difference:
Vocal Recording (Podcasts/Singing): Position the mic 6–8 inches from your mouth, slightly off-axis (not directly in front of your lips). This reduces harshness and breath noise. Speak at a consistent volume to avoid level fluctuations.Instrument Recording (Guitar/ Piano/Violin):
Guitar Amp: Place the mic 12–18 inches from the speaker, angled 45° toward the cone (captures both bass and treble).Piano: Position the mic 6–12 inches above the strings (inside the lid) for a balanced sound.Violin/Viola: Place the mic 12–24 inches from the instrument, focused on the f-hole (captures warmth and projection).Streaming/Gaming: Use a mic arm to position the Professional Condenser Microphone 8–10 inches from your mouth (out of the camera frame). Keep it stationary to avoid picking up movement noise.
Vocal Recording (Podcasts/Singing): Position the mic 6–8 inches from your mouth, slightly off-axis (not directly in front of your lips). This reduces harshness and breath noise. Speak at a consistent volume to avoid level fluctuations.Instrument Recording (Guitar/ Piano/Violin):
Guitar Amp: Place the mic 12–18 inches from the speaker, angled 45° toward the cone (captures both bass and treble).Piano: Position the mic 6–12 inches above the strings (inside the lid) for a balanced sound.Violin/Viola: Place the mic 12–24 inches from the instrument, focused on the f-hole (captures warmth and projection).Streaming/Gaming: Use a mic arm to position the Professional Condenser Microphone 8–10 inches from your mouth (out of the camera frame). Keep it stationary to avoid picking up movement noise.
5. Calibrate Levels & Test Before Recording
Calibrating levels ensures clean, distortion-free audio—never skip this step:
Put on closed-back headphones: This lets you monitor audio in real time without feedback.Adjust the gain: Speak/instrument into the Professional Condenser Microphone at a normal volume. Turn the gain knob on your interface/mixer until the level meter reads -12dB to -6dB (green = good, yellow = warning, red = clipping).Test record: Record a 30-second clip and listen back. Check for:
Clipping (distortion): Lower the gain if you hear this.Background noise: If present, move the mic closer to the subject or add more acoustic treatment.Plosives: Adjust the pop filter’s position if hard “p”/“b” sounds are harsh.Fine-tune: Make small adjustments to gain or mic position until the audio sounds clear and balanced.
Put on closed-back headphones: This lets you monitor audio in real time without feedback.Adjust the gain: Speak/instrument into the Professional Condenser Microphone at a normal volume. Turn the gain knob on your interface/mixer until the level meter reads -12dB to -6dB (green = good, yellow = warning, red = clipping).Test record: Record a 30-second clip and listen back. Check for:
Clipping (distortion): Lower the gain if you hear this.Background noise: If present, move the mic closer to the subject or add more acoustic treatment.Plosives: Adjust the pop filter’s position if hard “p”/“b” sounds are harsh.Fine-tune: Make small adjustments to gain or mic position until the audio sounds clear and balanced.
6. Record & Monitor in Real Time
Now you’re ready to record—follow these best practices for optimal results:
Monitor continuously: Keep your headphones on while recording to catch issues (e.g., sudden background noise, level spikes) immediately.Speak/play consistently: Maintain a steady distance from the Professional Condenser Microphone and consistent volume—avoid moving closer/farther mid-recording (causes level changes).Take breaks: Pause between takes to avoid fatigue (vocal strain or inconsistent playing affects audio quality).Save frequently: Avoid losing recordings by saving files regularly (use cloud storage for backup).
Monitor continuously: Keep your headphones on while recording to catch issues (e.g., sudden background noise, level spikes) immediately.Speak/play consistently: Maintain a steady distance from the Professional Condenser Microphone and consistent volume—avoid moving closer/farther mid-recording (causes level changes).Take breaks: Pause between takes to avoid fatigue (vocal strain or inconsistent playing affects audio quality).Save frequently: Avoid losing recordings by saving files regularly (use cloud storage for backup).

Pro Tips for Using Professional Condenser Microphone Like a Pro
Now that you know how to use professional condenser microphone, use these expert tips to elevate your audio further:
Avoid Over-EQing: Use your recording software’s EQ sparingly to fix issues (e.g., reduce bass for boomy vocals) — don’t over-alter the sound (condenser mics capture natural tone, which is best preserved).Use a Noise Gate: For streaming or noisy rooms, use a noise gate (in OBS, Audacity, or Logic Pro) to cut out background noise when you’re not speaking/playing.Clean Your Mic Regularly: Dust and debris build up on the Professional Condenser Microphone’s capsule, reducing sensitivity. Clean it with a soft brush (avoid moisture) after each use.Experiment with Polar Patterns: If your mic has switchable patterns, test omnidirectional (for group recordings) or bidirectional (for interviews) to find the best fit for your use case.Invest in Acoustic Panels: For home studios, acoustic panels (placed behind and to the sides of the mic) reduce echo and improve sound quality more than rugs/curtains alone.
Avoid Over-EQing: Use your recording software’s EQ sparingly to fix issues (e.g., reduce bass for boomy vocals) — don’t over-alter the sound (condenser mics capture natural tone, which is best preserved).Use a Noise Gate: For streaming or noisy rooms, use a noise gate (in OBS, Audacity, or Logic Pro) to cut out background noise when you’re not speaking/playing.Clean Your Mic Regularly: Dust and debris build up on the Professional Condenser Microphone’s capsule, reducing sensitivity. Clean it with a soft brush (avoid moisture) after each use.Experiment with Polar Patterns: If your mic has switchable patterns, test omnidirectional (for group recordings) or bidirectional (for interviews) to find the best fit for your use case.Invest in Acoustic Panels: For home studios, acoustic panels (placed behind and to the sides of the mic) reduce echo and improve sound quality more than rugs/curtains alone.
Common Mistakes to Avoid When Using Professional Condenser Microphone
Skip these pitfalls to ensure your Professional Condenser Microphone performs at its best:
Forgetting Phantom Power: The #1 mistake—condenser mics won’t work without +48V. Always double-check the power button before recording.Positioning the Mic Too Close: Holding the mic 2–3 inches from your mouth causes boomy vocals and breath noise—stick to 6–8 inches.Using Unbalanced Cables: Cheap, unbalanced cables pick up interference (static, hum) — always use high-quality balanced XLR cables.Ignoring Background Noise: The Professional Condenser Microphone’s sensitivity amplifies background noise—record in a quiet room with acoustic treatment.Overloading the Gain: Cranking the gain causes clipping (irreversible distortion)—start low and adjust gradually.
Forgetting Phantom Power: The #1 mistake—condenser mics won’t work without +48V. Always double-check the power button before recording.Positioning the Mic Too Close: Holding the mic 2–3 inches from your mouth causes boomy vocals and breath noise—stick to 6–8 inches.Using Unbalanced Cables: Cheap, unbalanced cables pick up interference (static, hum) — always use high-quality balanced XLR cables.Ignoring Background Noise: The Professional Condenser Microphone’s sensitivity amplifies background noise—record in a quiet room with acoustic treatment.Overloading the Gain: Cranking the gain causes clipping (irreversible distortion)—start low and adjust gradually.
FAQ: Common Questions About Using Professional Condenser Microphone
Q: How to use professional condenser microphone for podcasting?
A: For podcasting, mount yourProfessional Condenser Microphone on a mic arm (for flexibility) with a shock mount and pop filter. Position it 6–8 inches from your mouth (slightly off-axis), connect to an audio interface with +48V phantom power, and set gain to -12dB to -6dB. Use a noise gate to reduce background noise, and speak at a consistent volume. Record in a quiet room with acoustic treatment (curtains/rugs) to avoid echo.
Q: Can I use a Professional Condenser Microphone for streaming (Twitch/YouTube)?
A: Yes! Use a mic arm to position the Professional Condenser Microphone 8–10 inches from your mouth (out of the camera frame). Connect to an audio interface with phantom power, and link the interface to your streaming software (OBS, Streamlabs). Use a noise gate to cut out background noise when you’re not speaking, and test levels before going live. Avoid moving the mic mid-stream (causes noise).
Q: Why is my Professional Condenser Microphone picking up so much background noise?
A: Condenser mics are sensitive, so background noise is usually caused by: 1) A noisy room (fans, traffic, pets) — record in a quieter space. 2) Mic position (too far from the subject forces higher gain, amplifying noise) — move the mic closer. 3) Poor acoustic treatment (echo from hard surfaces) — add curtains/rugs. 4) Unbalanced cables (interference) — switch to balanced XLR cables.
Q: How to use professional condenser microphone without an audio interface?
A: Use an XLR-to-USB adapter with built-in +48V phantom power. Plug the XLR cable into the adapter, connect the adapter to your computer, and install the adapter’s drivers. Open your recording software (Audacity, GarageBand) and select the adapter as the input device. This is a budget-friendly option for beginners, but an audio interface delivers better sound quality and more control for professional use.
Final Thoughts: Master Your Professional Condenser Microphone
Learning how to use professional condenser microphone is about understanding its sensitivity, prioritizing proper positioning, and calibrating levels for clean audio. A Professional Condenser Microphone is an investment in your content—whether you’re a podcaster, vocalist, streamer, or musician—and knowing how to use it effectively will make your audio stand out from the crowd. With the steps, tips, and troubleshooting advice in this guide, you’ll avoid common mistakes and capture studio-quality sound every time, no professional audio experience required.
Ready to elevate your recordings? Practice positioning and level calibration, invest in basic acoustic treatment, and experiment with yourProfessional Condenser Microphone’s features. Your audience will notice the difference in clarity and warmth—and so will you.
how much is a tripod for a phone
how to set up a professional condenser microphone
Related Article
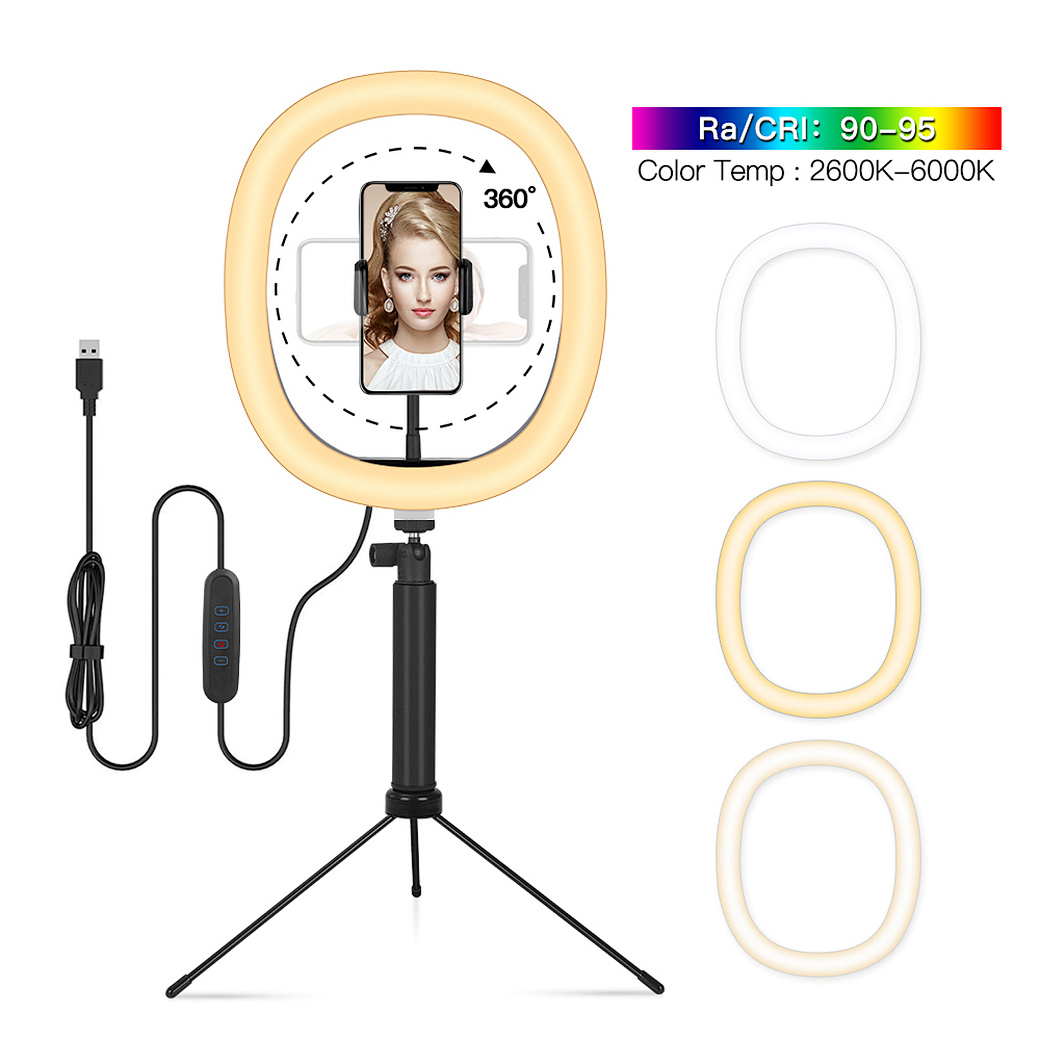
Confused about how to fix half moon wall light? Our simple quick tips help you troubleshoot common issues and get your cozy fixture working again fast.
how to fix half moon wall light
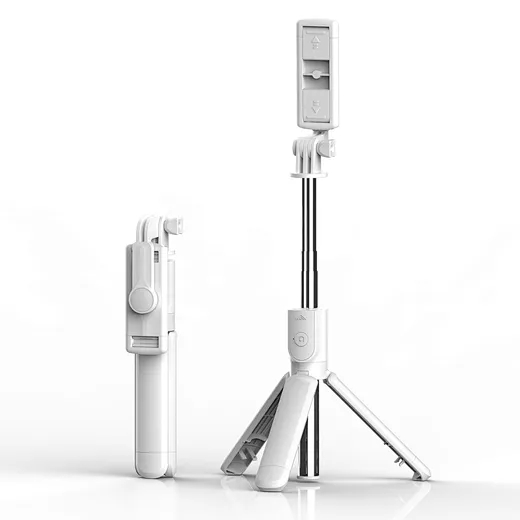
In the age of TikTok, Instagram Reels, and 24/7 live broadcasting, the Selfie Stick has evolved from a "tourist gadget" into an essential professional tool.
who invented selfie stick