how to use external cd drive for mac
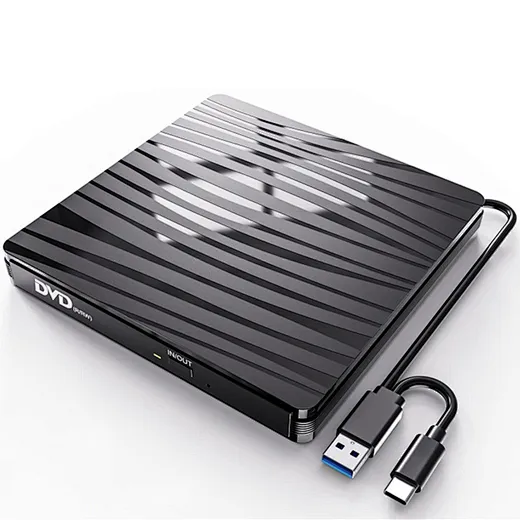
In an era of cloud storage and streaming, you might think physical discs are a thing of the past. However, whether you're digitizing a vintage music collection or installing legacy software, knowing how to use external cd drive for mac is still an essential skill. Since modern MacBooks and iMacs no longer come with internal drives, a reliable external cd drive for mac is the perfect bridge between your physical media and your digital workspace.
In this guide, we’ll walk you through the setup process, troubleshooting tips, and everything you need to know to get started.
Why You Need an External CD Drive for Mac
Apple phased out internal optical drives over a decade ago to make Macs thinner and lighter. Today, users rely on an external cd drive for mac to:
-
Listen to high-fidelity audio from CDs.
-
Watch DVD movies without relying on a stable internet connection.
-
Burn data backups for long-term physical storage.
How to Use External CD Drive for Mac: Step-by-Step
Setting up your drive is generally a "plug-and-play" experience, but there are a few nuances depending on your Mac model.
Step 1: Check Your Ports (USB-A vs. USB-C)
Most external cd drive for mac options use a standard USB-A connector. If you have a modern MacBook Pro or Air with only Thunderbolt (USB-C) ports, you will need a USB-C to USB adapter or a multi-port hub.
Step 2: Connect the Drive
Plug your external cd drive for mac directly into your computer. Avoid using unpowered USB hubs, as CD/DVD drives require a significant amount of power to spin the disc and may not work if they don't get enough juice.
Step 3: Insert the Disc
Gently push your CD or DVD into the slot or tray. You should hear the drive begin to spin.
Pro Tip: Unlike Windows, macOS often won't show the drive icon in the Finder until a disc is actually inserted.
Step 4: Access Your Data
Once the disc is recognized:
-
For Data Discs: An icon will appear on your Desktop and in the Finder sidebar under "Locations."
-
For Music: The Music app (formerly iTunes) should open automatically.
-
For Movies: The DVD Player app (found in your Applications folder) will launch to start playback.

Troubleshooting: What to Do If the Drive Isn’t Recognized?
If you’ve followed the steps on how to use external cd drive for mac but nothing happens, try these fixes:
-
Check Finder Settings: Go to Finder > Settings > General and ensure "External disks" is checked so icons appear on your desktop.
-
Verify Power: If the drive makes a clicking sound, it might not be getting enough power. Try a different port.
-
System Report: Click the Apple Menu > About This Mac > More Info > System Report. Under the "USB" section, check if your external cd drive for mac is listed.
How to Eject a Disc on a Mac
Since external drives often lack a physical eject button that works with macOS, you can:
-
Right-click the disc icon on the desktop and select Eject.
-
Drag the disc icon to the Trash (which turns into an Eject symbol).
-
Press Command + E on your keyboard.
Conclusion
Learning how to use external cd drive for mac is straightforward once you have the right hardware. Whether you choose the official Apple USB SuperDrive or a third-party external cd drive for mac, you can easily unlock years of content stored on physical discs.
what is the best external cd drive for mac
which ringlight is the best